In 2010, I only made 20 treats for my Daughters class. They were cute and adorable - they were Mummy's from toliet paper rolls. You can find the tutorial here.
Last year for Halloween, I made treats for both kids. So I had 40 in the my daughter's Pre-K class and 20 in my son's daycare class. I went a little over board last year - I started in August. The pre-k class received sourcream bat containers with candy and the daycare class got treat sticks...I will write up a tutorial for them.
There is just NO WAY I can do that this year. I don't have time... I will admit it.. I do not have time to make treats like I did last year. SO, this year I will make easier ones. : )
So cute little matchbook treats for all... I have to make 58 of them... so lets just make it an even 60. I only have about 3 hours to dedicate to this project....so I will let you know how long it is going to take me when I am finished.
Lets get started. Here is my Sample:

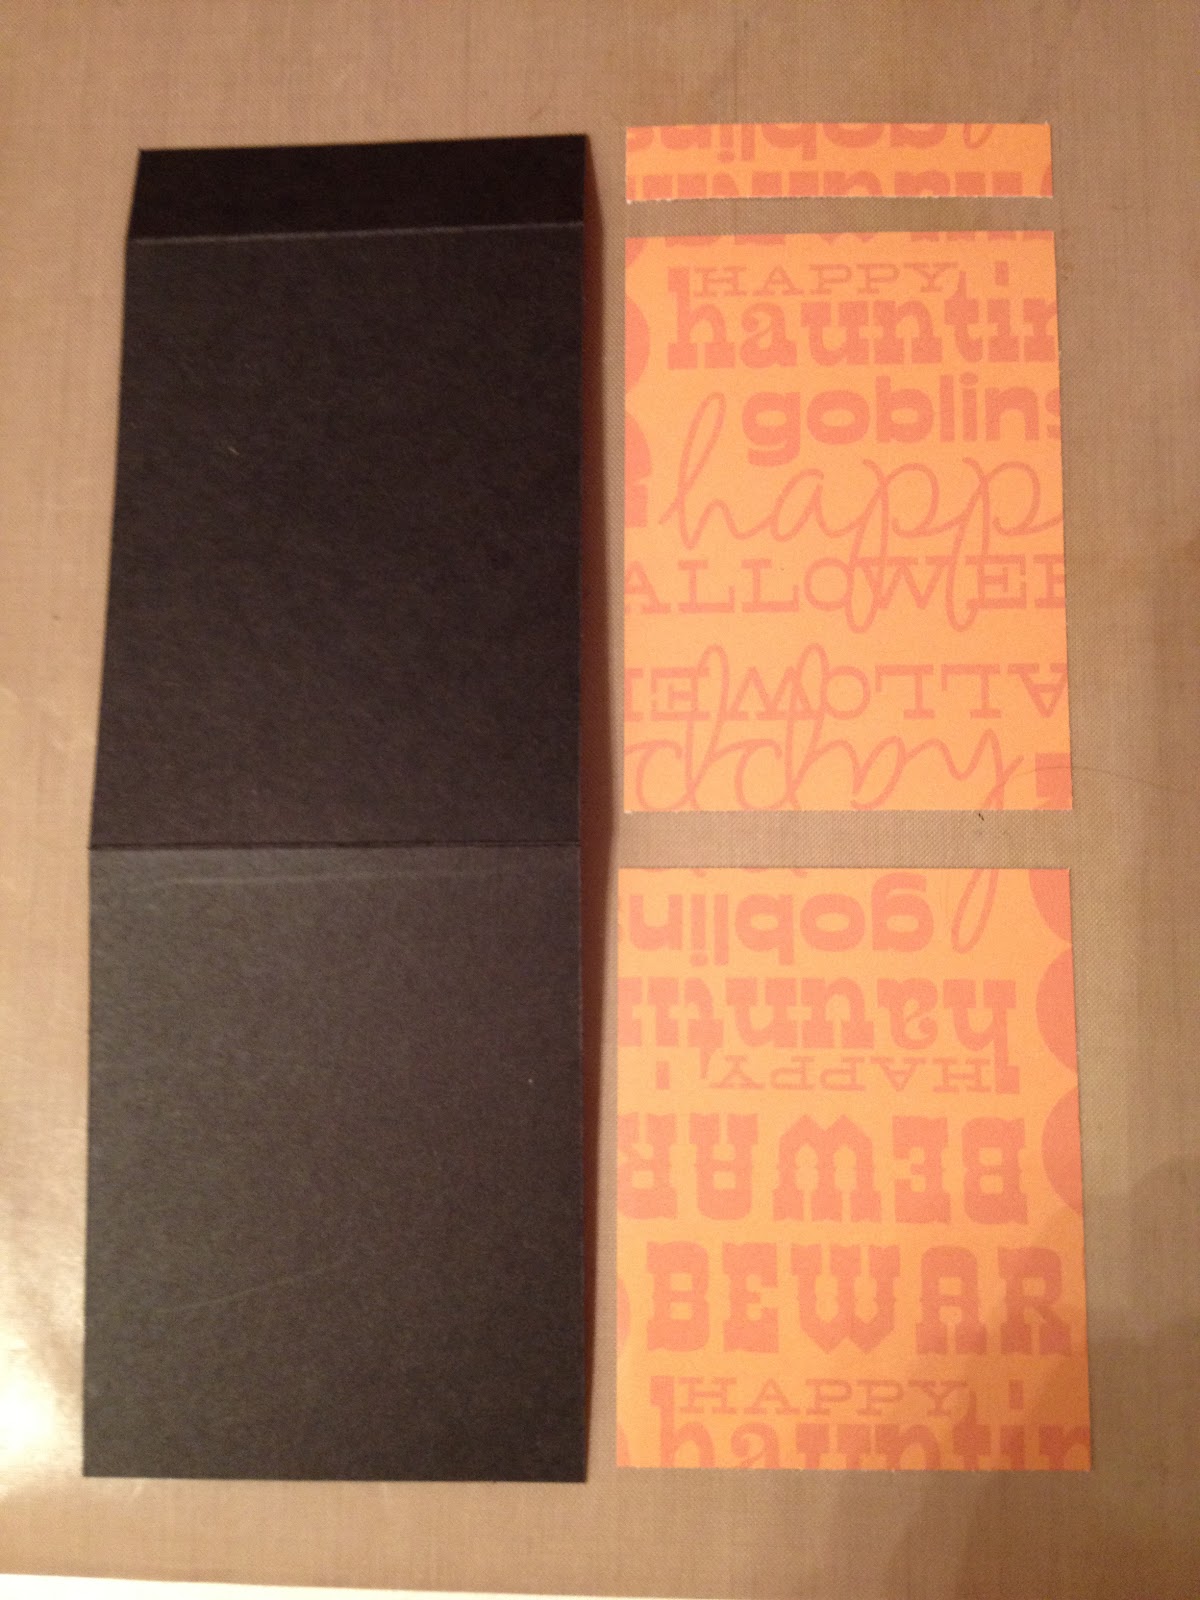
So you will need to do the following:
1 12 x 12 of solid paper (you can get 5 treat bottoms out of this) - I go with black
1 12 x 12 of pattern paper (you can also get 5 treat tops out of this) - $1 pack from Walmart
Cut your solid at 8-1/2" x 3". Score the on the long side at 3/4" and 4-3/4".
Fold the match box with the 3/4" score and staple about 1/4" from the bottom.

Cut two pieces of the pattern paper; one each 3-1/2" x 2-3/4" and 3-3/4" x 2-3/4". Ink around the edges with black and attach to the outside of the matchbox.
Cut another piece of the patter paper at 2-3/4" x 1/2". Ink around the edges and and attach to the short flap on the front as shown.

Insert the treat (M&M's and Skittles work great) and tuck the long flap in.
Now for the Optional Belly band. This will mess up the paper count, but you can do this part if you want. Cut another piece of the pattern paper at 1" x 7". Ink on the long edges. Wrap around the matchbook and attach in front with a glue dot.
Punch a Scallop Circle in a pattern paper and apply glue to the belly band or to the front of the matchbook in front and attach the Scallop Circle.
And your done. Remember, this is for a Pre-K class and a kindergarten class... looks don't matter... this just gives them something to do before they get to the good stuff. Plus it makes us mommies feel good. :)


That's it for today. Thanks for checking in!
- Kristie
No comments:
Post a Comment